 I will say, though, there is one activity that is fun for everyone. Regardless if a person is young or old, silly or serious, I have yet to hear of a person who does not enjoy demolishing walls. One volunteer describes it as her "daily zen." The handling of a crowbar, hitting it with as much force as possible against the plaster walls relieves stress levels and erases worry lines. Perhaps instead of botox injections, the stereotypical trophy wife should look to this activity to keep the life in her aging face!
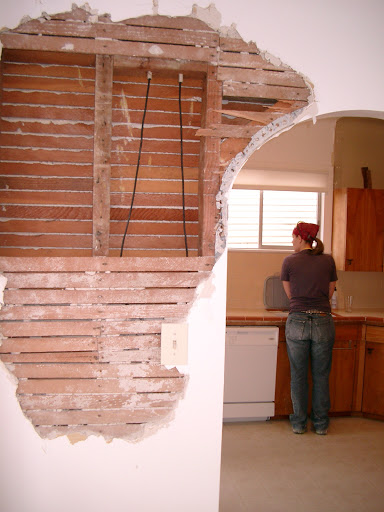
Step one to rehabbing a house is getting over the fact that you have to do more damage before things can be improved. It seems counterintuitive; doesn't destroying walls bring you farther away from the finished product? Actually, "demo" is a very needed process...it's the only way to truly know what's going on in your renovation project. Does it need to be insulated? Rewired? Are there leaks? Is there mold? All of this can be determined when taking down a wall.
Steps to correct and safe "demo":
Equipment needed: mask, safety goggles, hardhat (a must if you're doing ceilings), heavy boots to avoid stepping on nails, crowbar/sledgehammer
1. Remove trim by delicately prying it away from the wall. Remove nails with a nail puller--pull them out from behind and you will prevent the finish from being ruined.

2. Remove wall fixtures. TURN OFF POWER. Unscrew the screws that hold them and disconnect the attached wires. Once the wires are disconnected, put electrical tape or wire nuts over the bare ends of the wire before turning the power back on.
2. Remove plaster. If your wall is covered with plaster and lath, first knock the plaster off with a small sledgehammer or the butt end of the crowbar. If you're not totally ripping out the wall and you keep the lath on, you can go over it with 1/4-3/8" drywall. Works just fine and saves the time it would take to rip out the lath.
4. Remove lath. If you do decide to rip out the lath, by removing the plaster and lath separately, debris will be much easier to handle. You now have a wall that's completely down to the bare bones. If you want to totally get rid of it, you need to determine if it's load bearing or not and proceed from there...more on this later...
5. Clean up. Probably the most important part of a renovation other than safety is keeping your workspace clean. Shovel the plaster pieces into heavy-duty contractor bags and tie the lath together to make piles. You can either throw this in the garbage, or keep your feet toasty warm and use it as kindling for your fire!
No comments:
Post a Comment